A Step-by-Step Guide to Setting Up Your First Digital Signage Network
Setting up your first digital signage network can feel like a big leap, but with the right approach, you’ll transform your business space into an engaging hub. Whether you run a retail store, an educational institution, or a restaurant, Digisigns technology offers the tools to make this process smooth and effective. This guide walks you through selecting the right hardware, mastering content management, and nailing the installation—all tailored to help you maximize visibility and engagement. Let’s dive in and get your network up and running!
Step 1: Choosing the Right Hardware
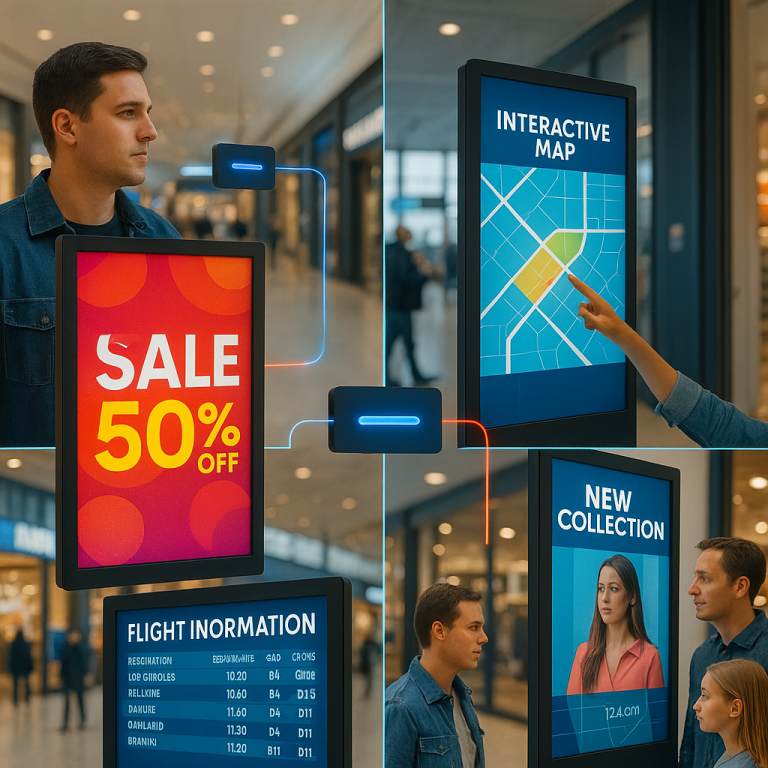
Your journey begins with picking the hardware that fits your needs. The first decision is the type of display. Wall mount displays work great for restaurants, offering durability for busy kitchens. If you’re in retail, totem displays catch eyes in open spaces, while easel displays suit events with their portability. For education, consider video walls to captivate students with large-scale visuals. Digisigns technology supports LCD, LED, and projection options, so you can choose based on brightness and size requirements.
Next, think about screen resolution. A 1080p or 4K display ensures crisp images, crucial for dynamic visual tools like product promos or campus maps. Check the connectivity—ensure your screens support HDMI or wireless options to integrate with Digisigns’ customizable display software. Budget matters too; start with affordable options like wall mounts and scale up as you grow. Research brands for reliability, and opt for energy-efficient models to save costs long-term. This step sets the foundation, so take your time to match hardware to your space and goals.
Step 2: Planning Your Content Management
Once your hardware is set, it’s time to manage what appears on those screens. Digisigns content management screens make this easy with a cloud-based platform. You’ll start by signing up on digisigns.in, where you get access to a user-friendly interface. The DigiCanvas tool lets you create content without coding—drag and drop elements like text, images, and videos into ready-made templates. Customize layouts for your industry, whether it’s restaurant menu boards or educational screen systems.
Scheduling is key. Plan your content ahead—set breakfast menus for mornings and promotions for afternoons in a café, or campus alerts for school hours. Use the platform’s analytics to track what works; the Content Score feature shows which displays engage viewers most. Integrate social feeds or live streams to keep things fresh, a feature Digisigns highlights for dynamic visual tools. Test your content on a single screen first to iron out glitches. This step ensures your network delivers relevant, eye-catching messages tailored to your audience.
Step 3: Installing Your Network
Installation brings your vision to life, and with the right tips, you’ll avoid common pitfalls. Start by mapping your space. Decide where each display goes—high-traffic areas like store entrances or classroom hallways work best. Measure wall space or floor areas to ensure a perfect fit, and check power outlets or Wi-Fi strength. Digisigns’ cloud system means you can manage remotely, but a stable connection is a must.
Mounting is next. For wall mounts, use a stud finder to secure the bracket, ensuring safety for heavy displays. Totem displays need a level surface, while video walls require professional alignment—consider hiring help if you’re new to this. Connect each screen to power and the internet, then link them to your Digisigns account via the provided app or website. Test each display individually; if a screen lags, check cables or signal strength. Label connections for future maintenance. This hands-on step turns your hardware and content into a working network.
Step 4: Optimizing and Maintaining Your Network
Your network is live, but optimization keeps it effective. Start by tweaking content based on audience feedback—shorten videos if viewers walk away, or adjust brightness for glare. Use Digisigns analytics to refine schedules and layouts, ensuring your display solutions for retail or educational screen systems hit the mark. Update software regularly via the cloud to fix bugs and add features.
Maintenance is simple but essential. Dust screens monthly with a microfiber cloth to keep visuals sharp. Check connections quarterly to prevent loose wires, and monitor performance remotely with Digisigns’ tools. If a screen fails, the app lets you troubleshoot or swap it out quickly. Train your team on basic updates to keep the network running smoothly. This ongoing care maximizes your investment and keeps engagement high.
Step 5: Expanding Your Network
As your business grows, so can your network. Add screens to new locations—maybe a second café or a larger campus building. Digisigns scalability lets you manage more displays from the same platform, using the same content management screens. Introduce TouchView for interactive experiences, like product demos in retail or quizzes in education. Promote your success on social media, linking back to digisigns.in to drive traffic.
Plan your expansion with budget and space in mind. Start small, adding one or two screens, and scale based on performance data. Engage your audience with contests or live polls via the signage, boosting interaction. This step turns your initial setup into a powerful tool for growth across industries like restaurant menu boards or display solutions for retail.
Why Digisigns Technology Stands Out
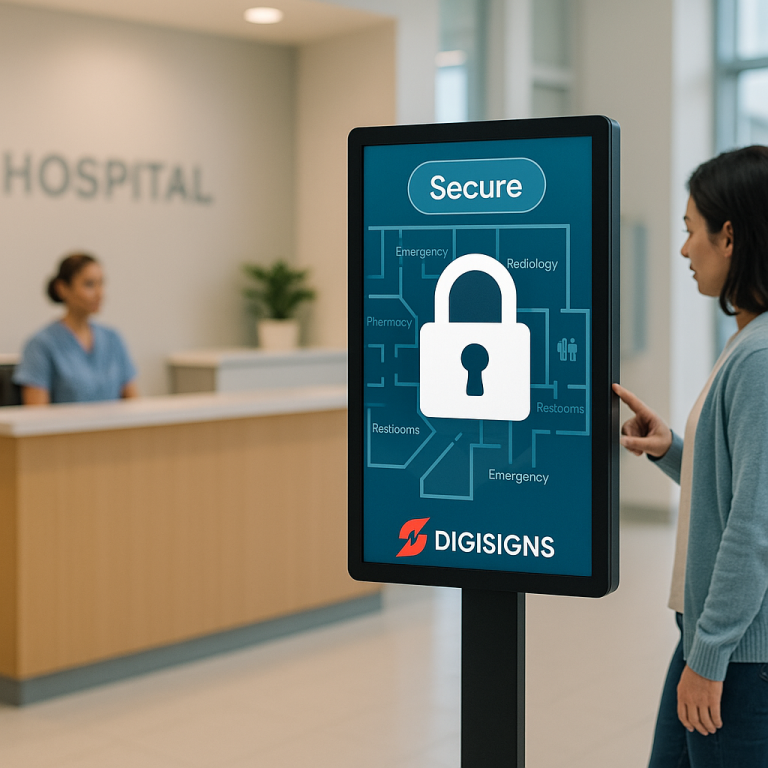
Digisigns.in sets itself apart with its cloud-powered approach. You get real-time updates, secure data with GDPR and ISO 27001 certifications, and support from a team available 16 hours a day. The Philip Morris International case study shows how these features cut costs and boost engagement by 25%—proof that this guide works. Whether you’re in education or retail, Digisigns’ customizable display software adapts to your needs, making setup a breeze.
Final Thoughts
Setting up your first digital signage network with Digisigns technology is a rewarding process. You’ve selected the right hardware, mastered content management, installed with confidence, optimized for success, and planned for growth. Each step builds on the last, turning screens into a business asset. Visit digisigns.in to start today, and watch your engagement soar. Share your setup journey below—we’d love to hear how it goes!